Are you ready to enhance your ECHO demo saw’s capabilities and convert it into a Geo Trencher? Follow these easy steps to unlock a new level of functionality for your equipment.
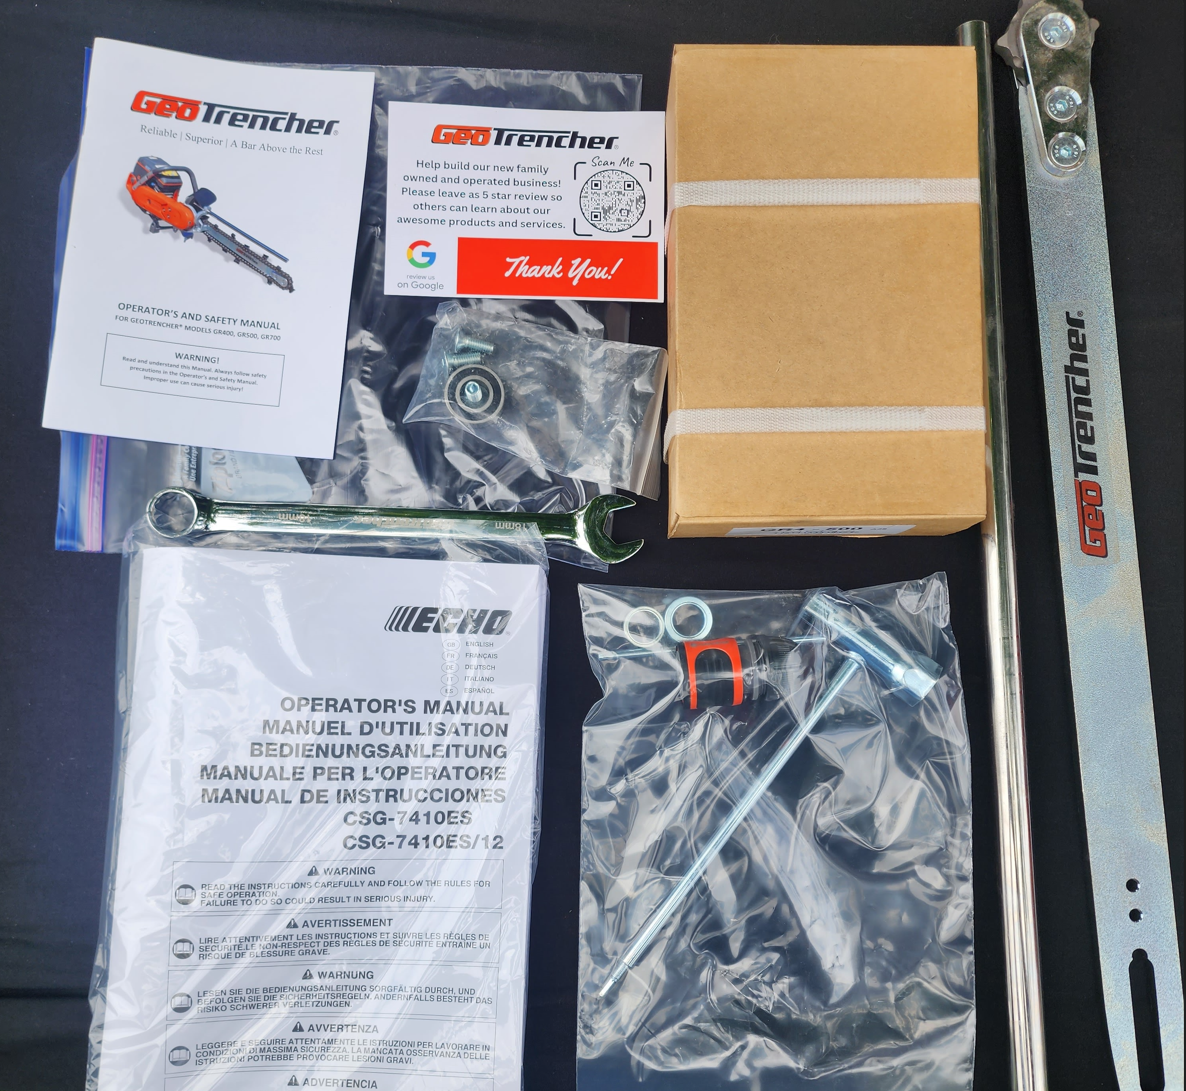
Step 1: Begin by unboxing and organizing all the essential components. This includes the Geo Trencher Manual, a 19mm spanner for the bar, spare nose bearing and bolts, QR code for feedback, a box with two chains, ECHO manual, ECHO tool kit and spare parts, Geo Trencher bar, Geo Trencher safety Tube, and the Demo Saw.
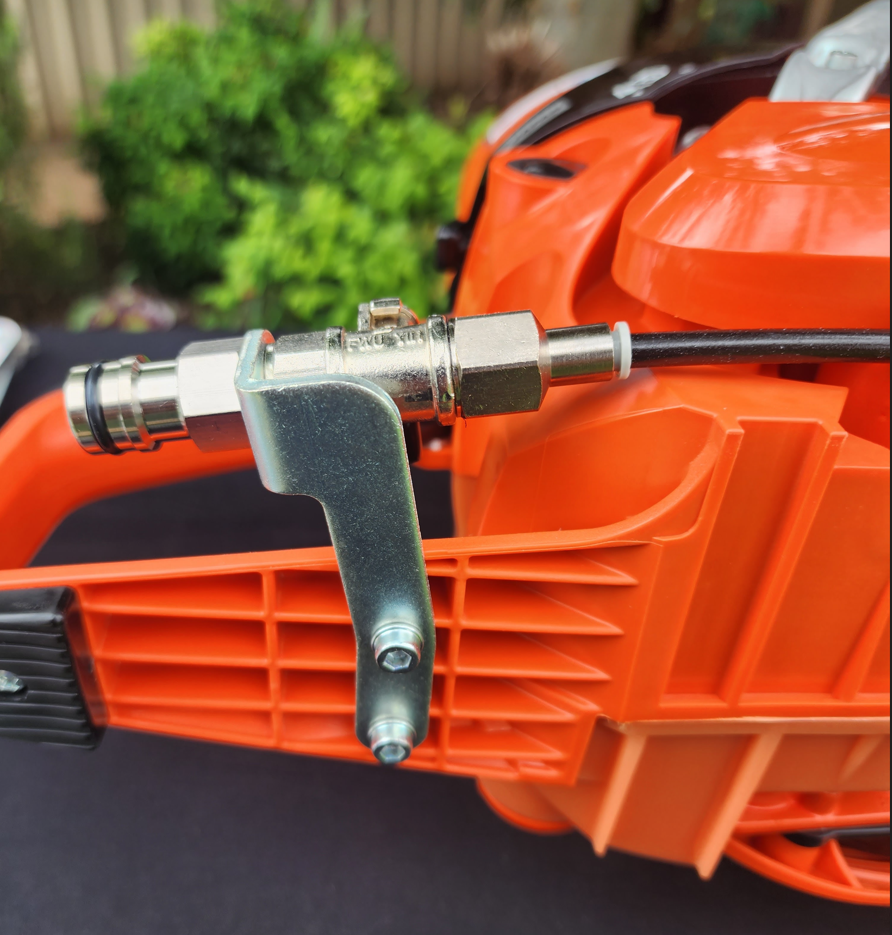
Step 2: Unclip the water tube from the handle to the saw, and store it safely with the ECHO parts.
Step 3: Reduce tension on the saw head using the allen key provided.
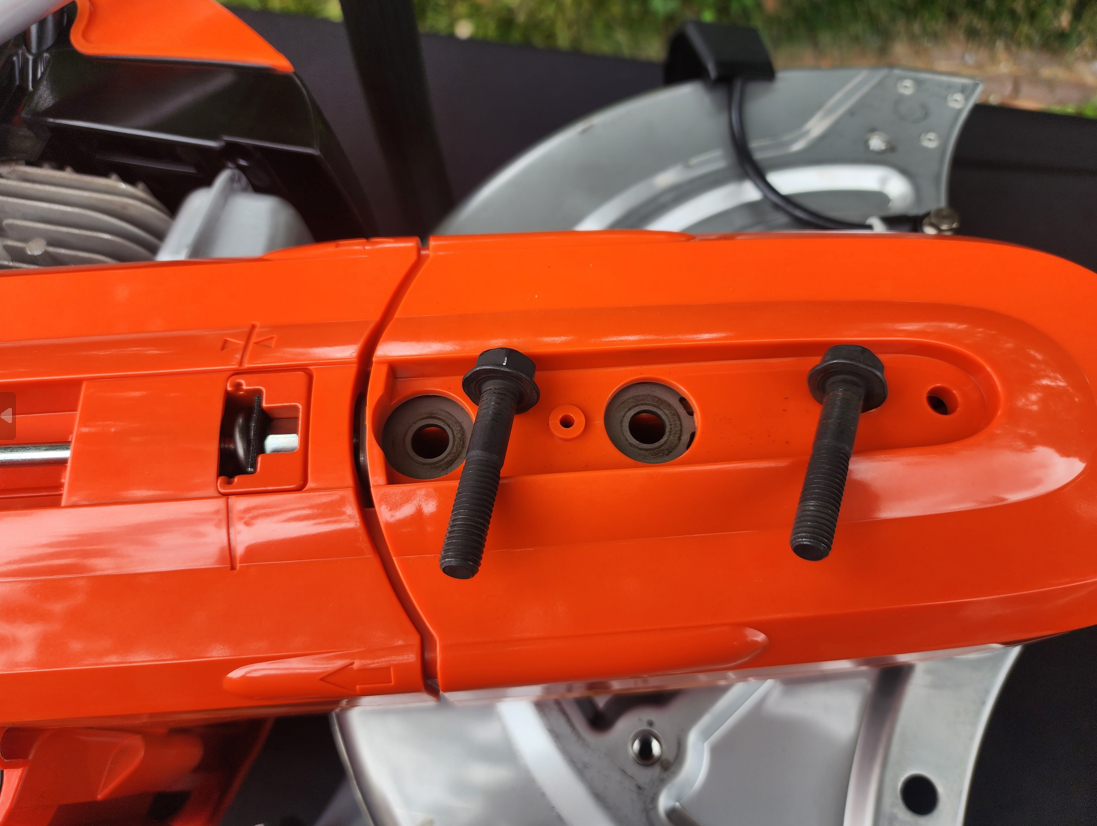
Step 4: Remove two bolts with the 14mm spanner provided.
Step 5: Lay the machine on its side, remove the cover and saw head.
Step 6: Remove 14mm lock nuts from the new Geo Trencher adaptor and the 10mm bolts from the tube arm.
Step 7: Set the machine upright again.
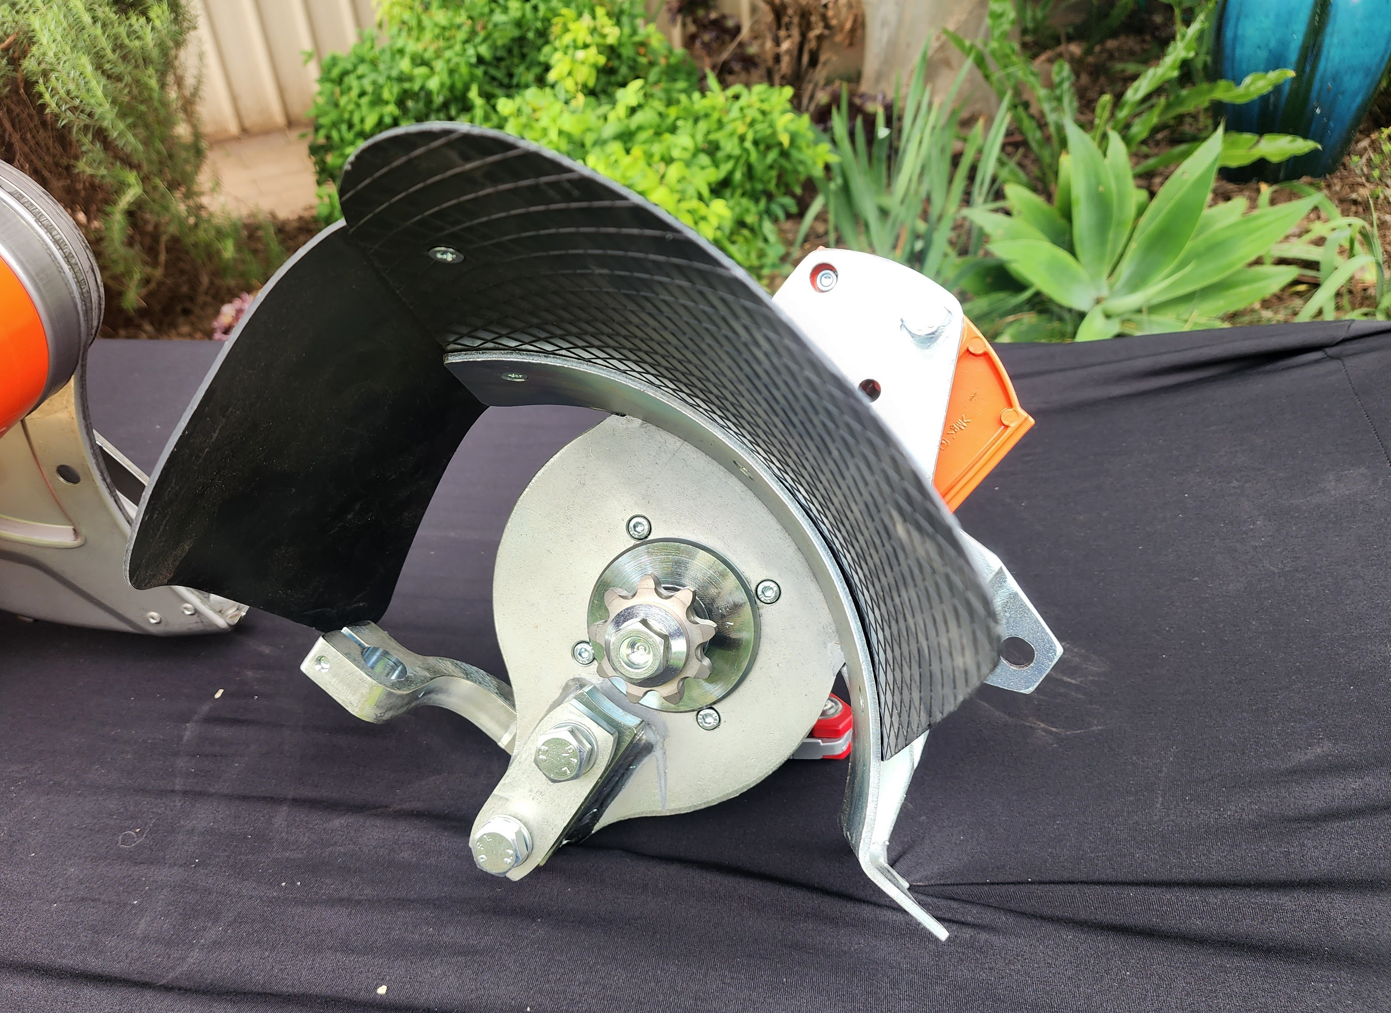
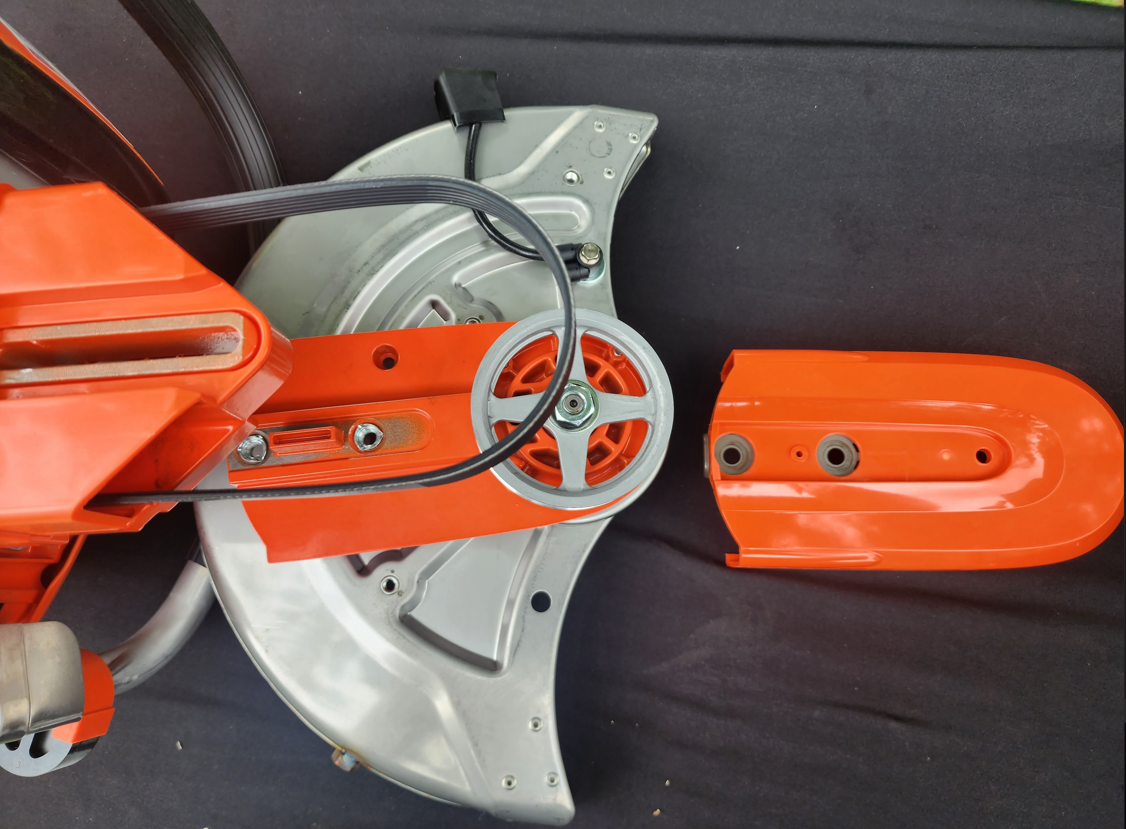
Step 8: Attach the Geo Trencher adaptor to the engine using two bolts.
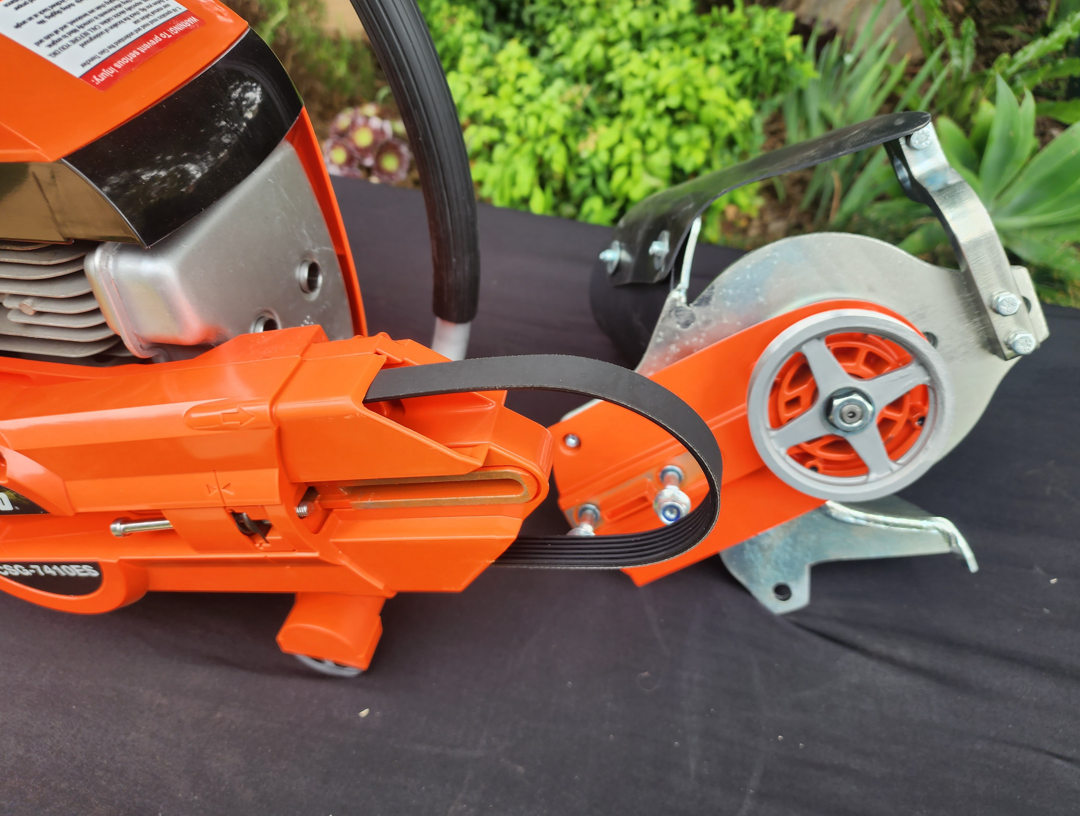
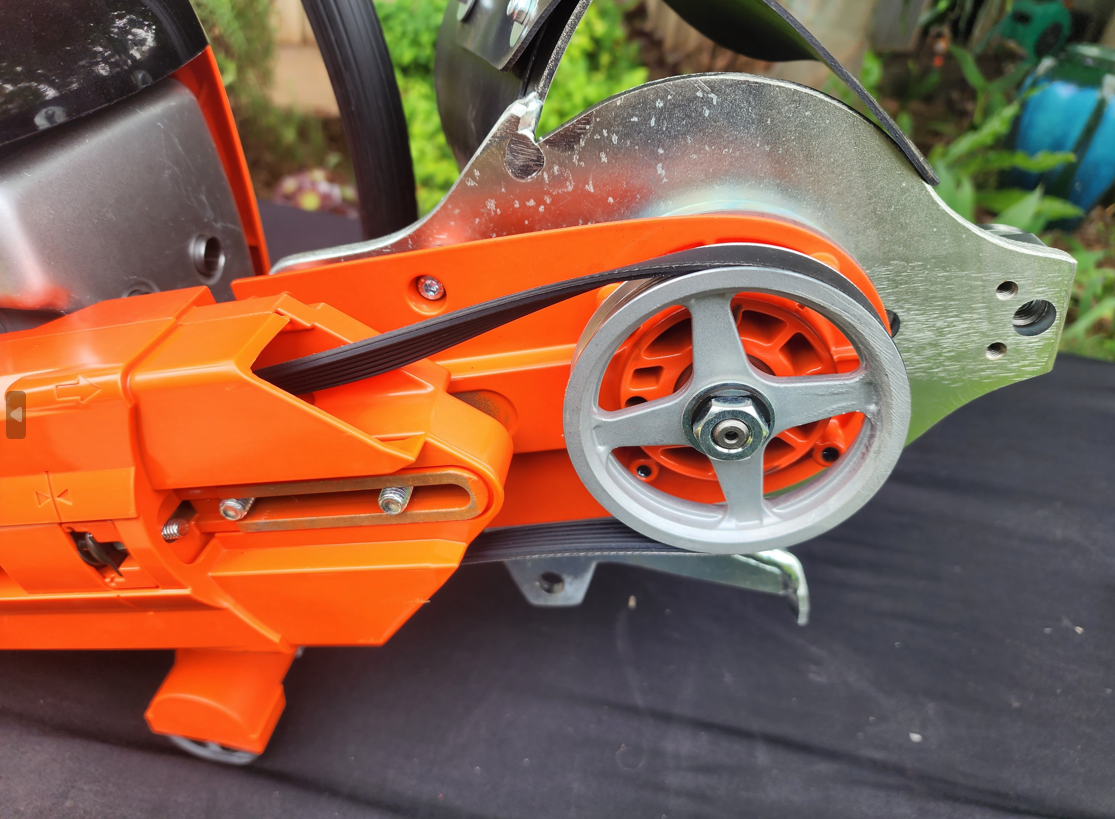
Step 9: Replace the belt over the pulley.
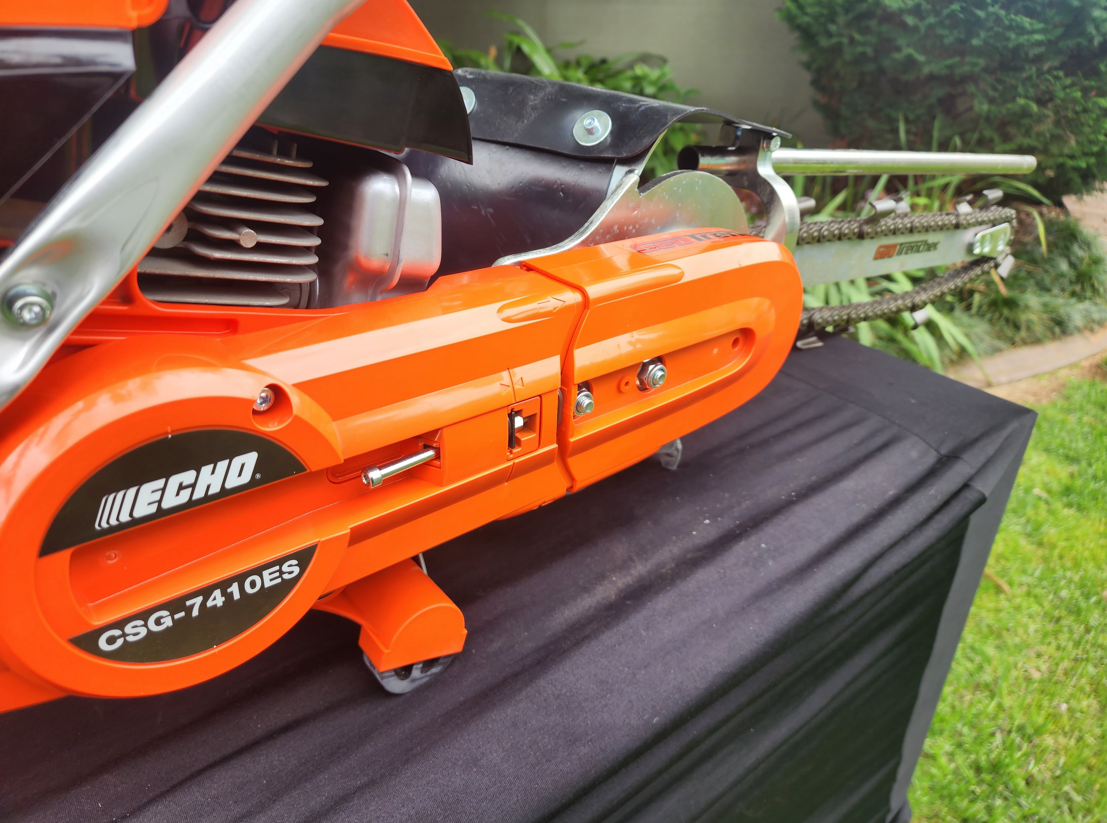
Step 10: Keep the two bolts recessed to the housing to slide the cover back on.
Step 11: Slide the cover back on, ensuring you cover the orange part of the adaptor to prevent belt wear on the housing.
Step 12: Slide all the way on and push the two bolts through the holes.
Step 13: Loosely attach the two nuts again.
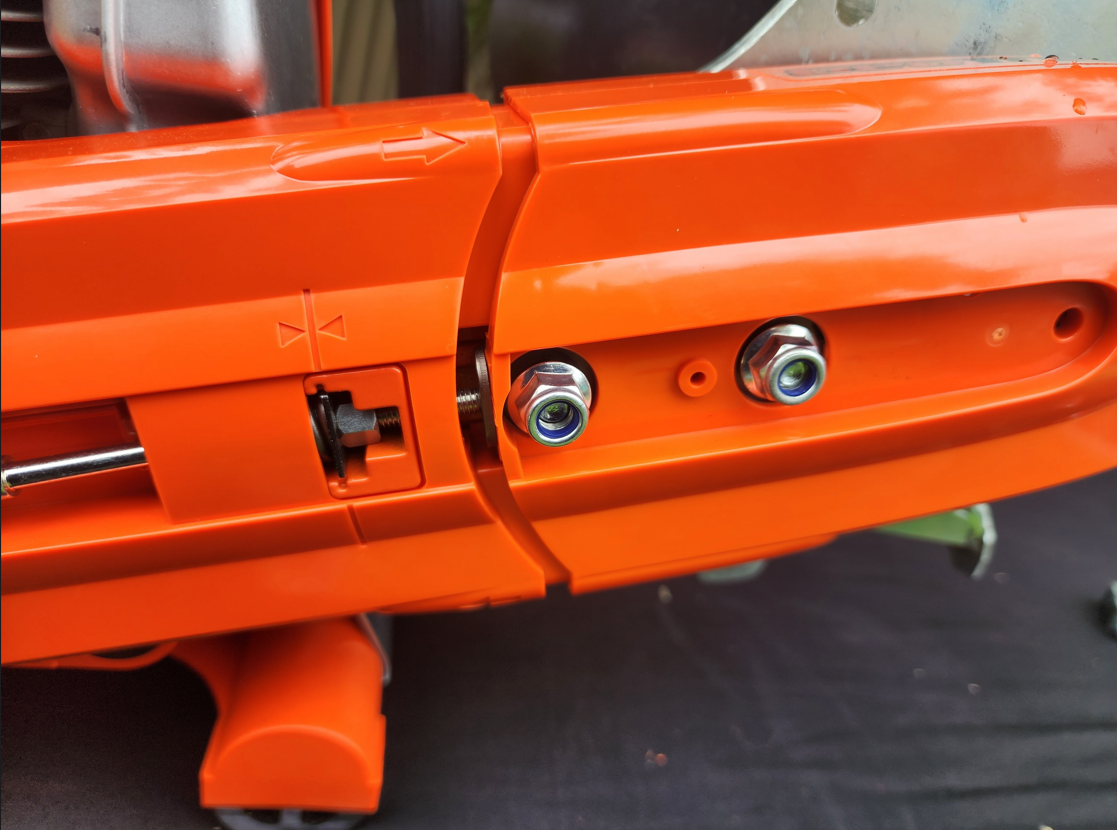
Step 14: Tighten the tension plate back to the tension lines shown on the side of the machine.
Step 15: Tighten the two nuts.
Step 16: Replace the tube holder to the adaptor.
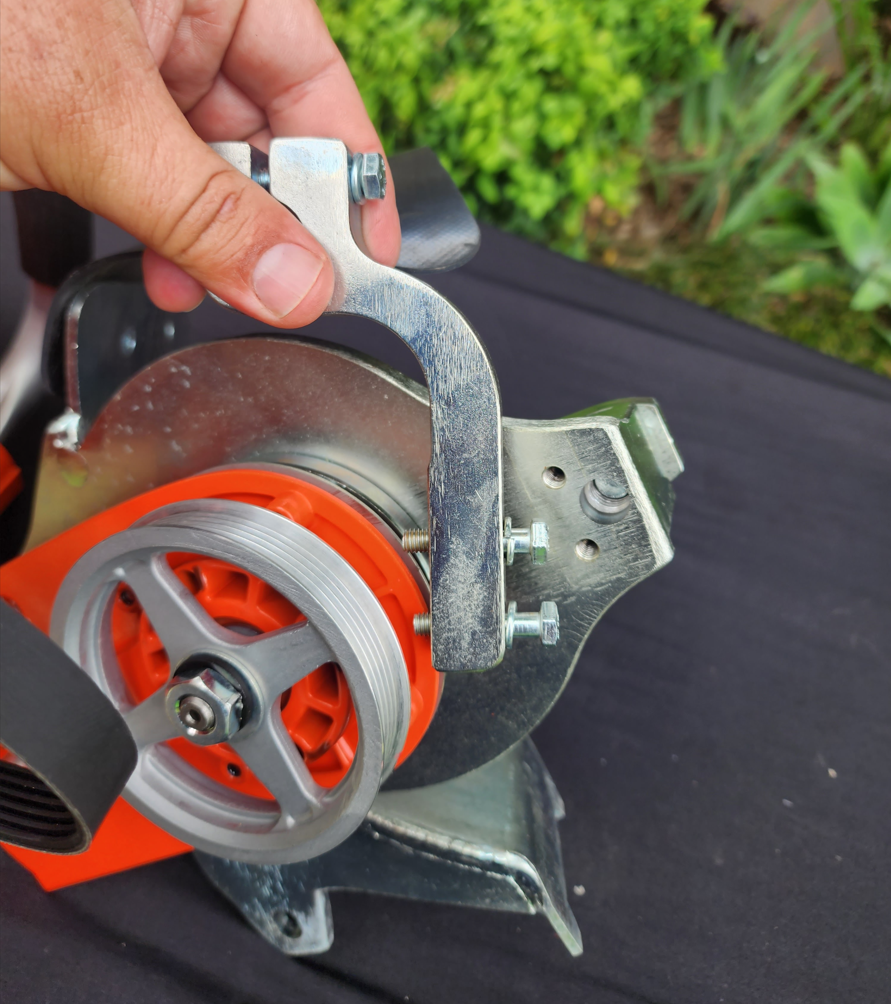
Step 17: Remove the two bolts holding the bar plate on.
Step 18: Lay the bar and chain out over the sprocket.
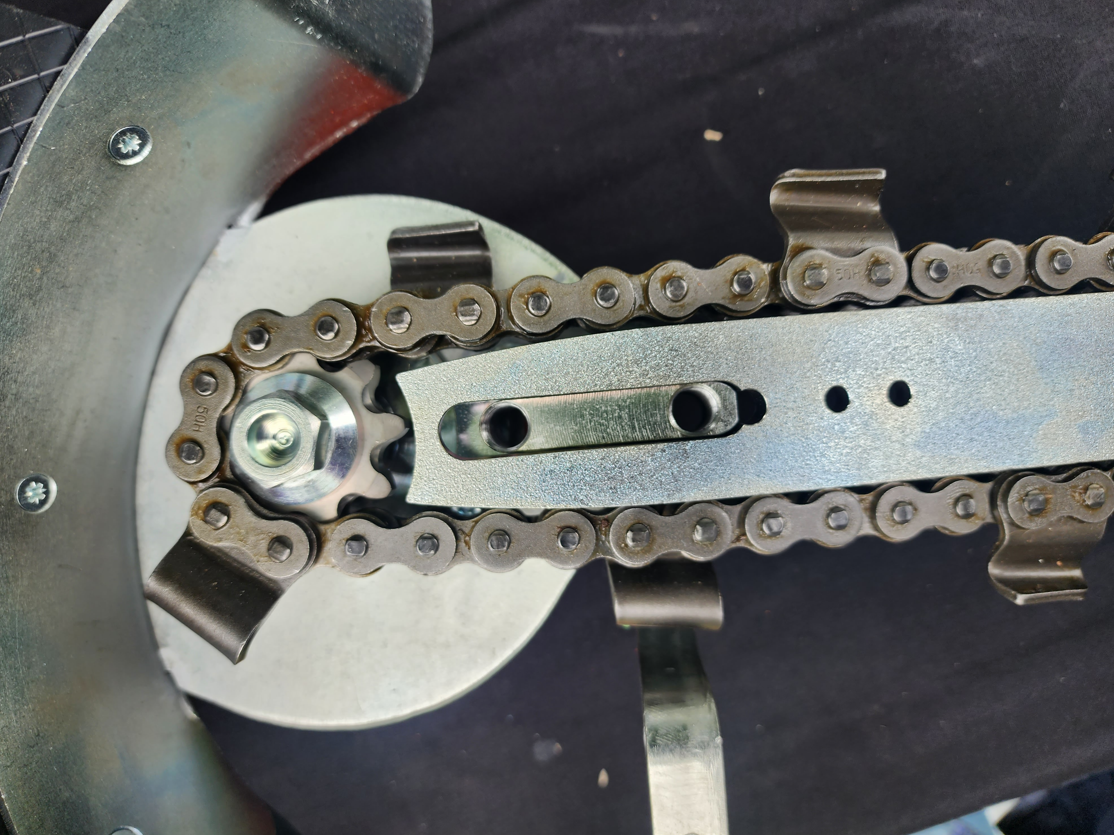
Step 19: Slide down until the bar finds its groove in the adaptor (use gravity for assistance, especially for the 700mm bar).
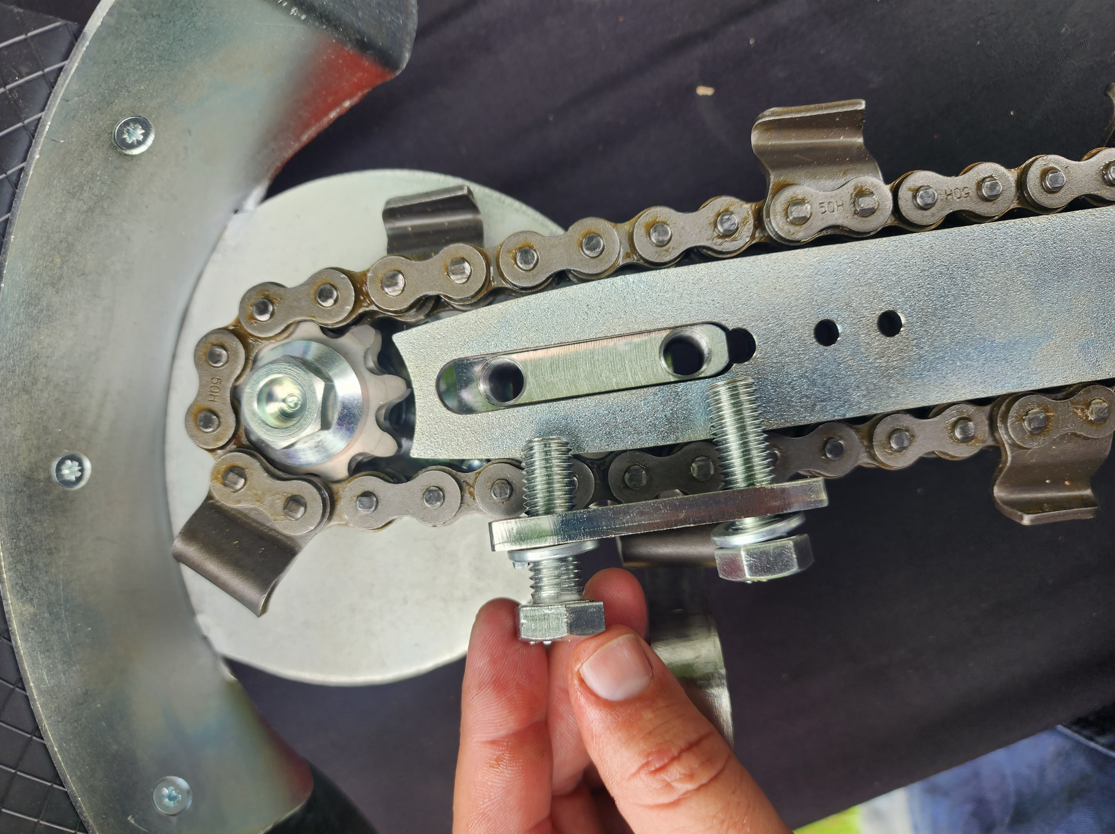
Step 20: Replace the cover and two bolts.
Step 21: Tighten the bar with the spanner provided.
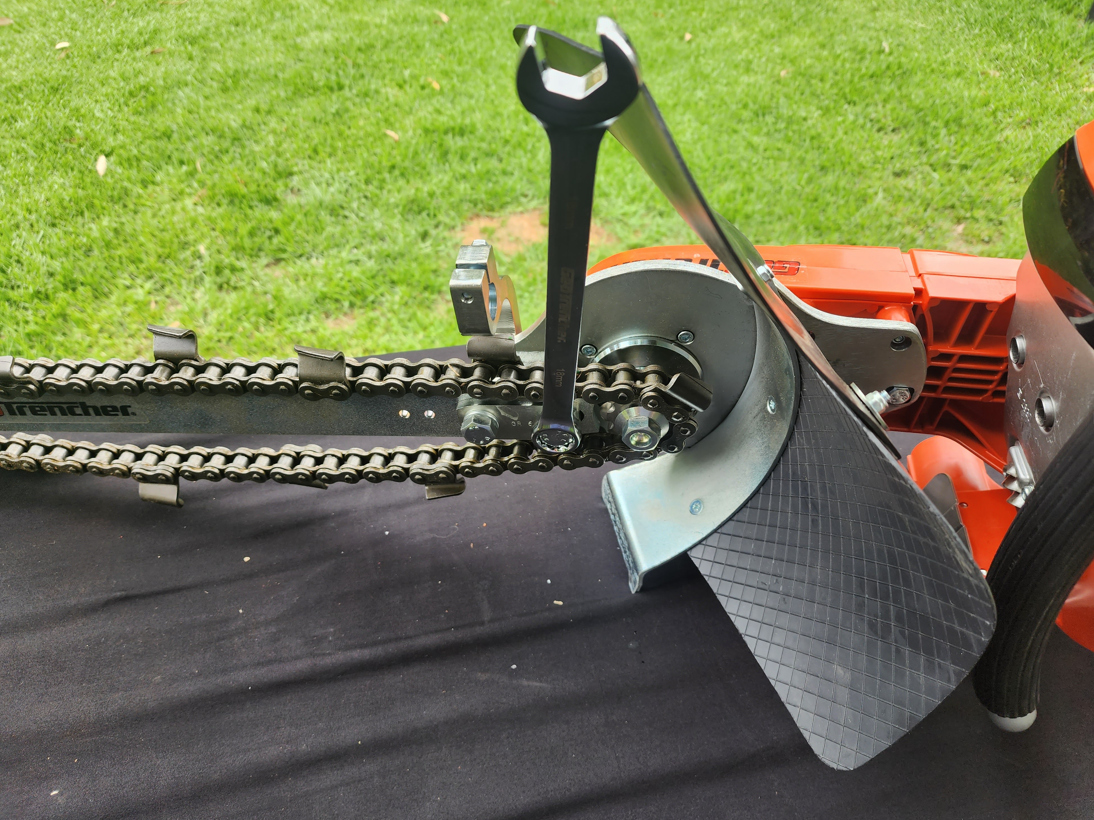
Step 22: Follow the ECHO manual for the first start.
Step 23: Congratulations! You are now ready to make the most of your transformed Geo Trencher.