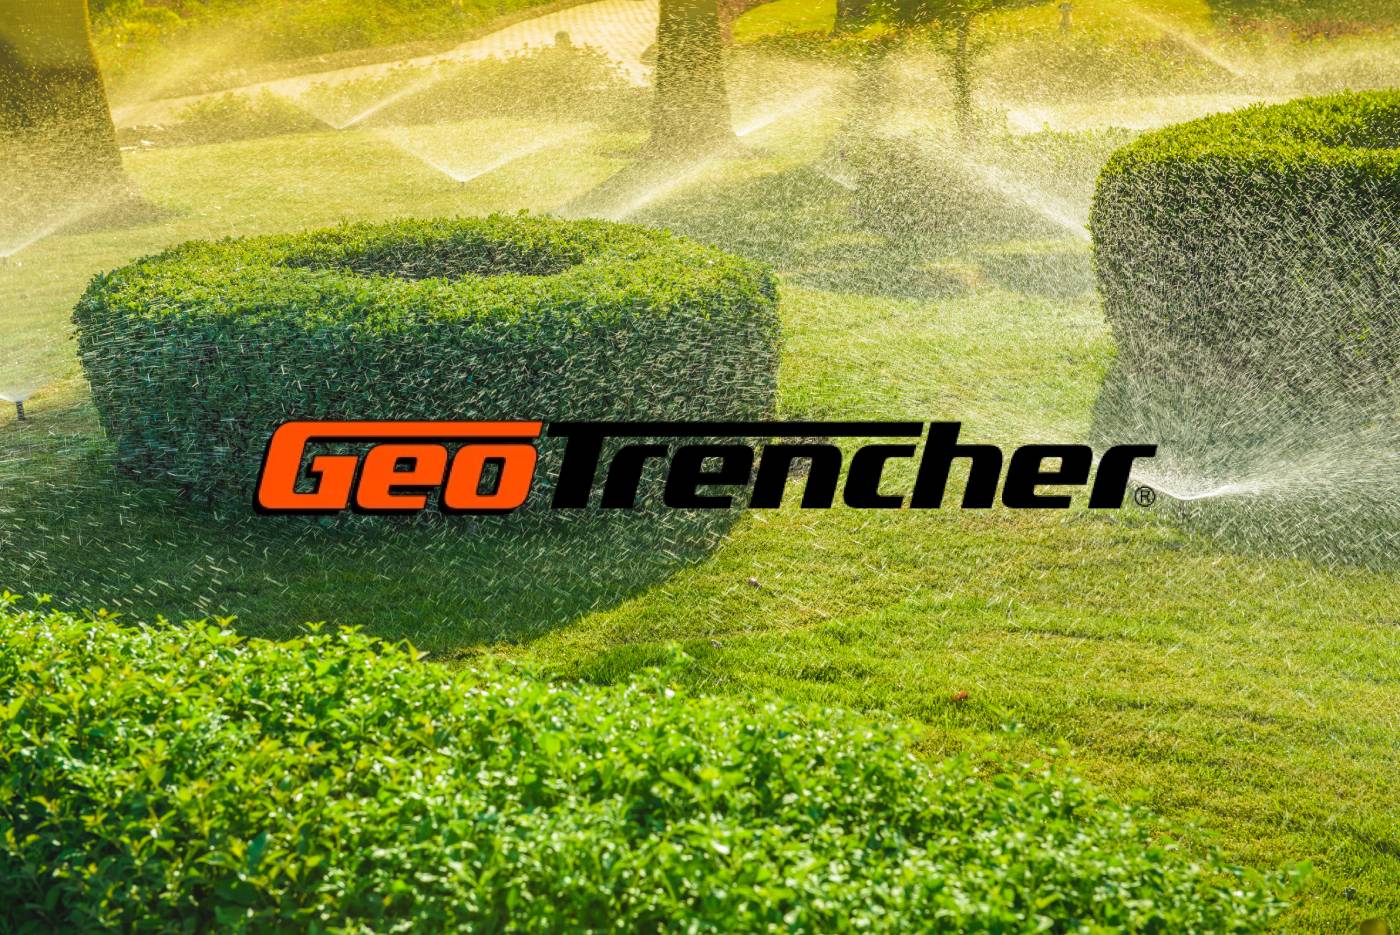
Irrigation Installation
In the world of agriculture and property management, efficient irrigation systems are paramount to success. As the Australian landscape presents diverse challenges, from dry regions to fertile valleys, the need for innovative trenching solutions becomes apparent. This is where GeoTrencher steps in, revolutionizing trenching practices with its cutting-edge technology.
GeoTrencher: A Brief Overview

GeoTrencher Australia Sales And Support, operated by the passionate duo David and Olivia McNabb. Former dryland farmers themselves, the McNabbs discovered the potential of mini trenchers and became the exclusive distributors of GeoTrencher in Australia. With backgrounds in farm water management, irrigation practices, property renovation, and telecommunications, they bring a unique perspective to the table.
Installing Irrigation with GeoTrencher
Irrigation is the lifeblood of agriculture, ensuring crops receive the right amount of water for optimal growth. The key to a successful irrigation system lies not just in water management but also in the precision and efficiency of the installation process. Enter GeoTrencher, a revolutionary tool that transforms the way irrigation systems are installed. Here’s a step-by-step guide on how to harness the power of GeoTrencher for seamless irrigation installation.
Step 1: Site Assessment and Planning
Before diving into the installation process, conduct a thorough assessment of the site. Identify the terrain, soil type, and the specific needs of the crops to determine the optimal layout for the irrigation system. Planning is crucial to ensure efficient water distribution and minimize resource wastage.
Step 2: Choosing the Right GeoTrencher Model
GeoTrencher offers a range of models compatible with different powerheads, including Echo®, Stihl®, Husqvarna®, and Makita®. Select the GeoTrencher model that aligns with your equipment and the requirements of your irrigation project. Consider factors such as trench depth and width to match the specifications of your irrigation lines.
Step 3: Marking the Trench Lines
With the site assessed and the GeoTrencher selected, mark the trench lines accurately. GeoTrencher’s power disc cutters provide precision in trenching, allowing for the creation of straight and well-defined trenches. Proper marking ensures that the irrigation lines are laid out in the most effective manner for optimal water distribution.
Step 4: Setting Trenching Depth
Adjust the GeoTrencher to the desired trenching depth based on the specifications of your irrigation system. The ability to customize trench depth is a key feature of GeoTrencher, allowing for flexibility in accommodating various irrigation line requirements.
Step 5: Trenching with GeoTrencher
Commence trenching with GeoTrencher along the marked lines. The Trencher effortlessly cut through the soil, creating clean and precise trenches. GeoTrencher’s design minimizes soil disturbance, preserving the integrity of the surrounding area.
Step 6: Installing Irrigation Lines
As the trenches are created, proceed with the installation of irrigation lines. GeoTrencher’s efficiency in trenching expedites this process, saving valuable time during installation. Lay the irrigation lines carefully within the trenches, ensuring proper alignment and connection.
Step 7: Backfilling and Site Restoration
Once the irrigation lines are in place, backfill the trenches with the excavated soil. GeoTrencher’s minimal soil disturbance means that backfilling is a straightforward process. Compact the soil gently to secure the irrigation lines in position.
Step 8: Testing the System
Before considering the installation complete, thoroughly test the irrigation system. Ensure that water flows through the lines without leaks and that each section receives an adequate amount of water. GeoTrencher’s precision in trenching contributes to the reliability of the system, minimizing the risk of issues during operation.
Step 9: Routine Maintenance and Monitoring
With the irrigation system in place, establish a routine maintenance schedule. While GeoTrencher reduces maintenance needs, regular checks ensure the longevity and optimal performance of both the irrigation system and the trenching equipment.
Step 10: Embracing Innovation for Future Projects
As you witness the success of your irrigation installation with GeoTrencher, consider the future. GeoTrencher is committed to innovation, with ongoing exploration into battery-powered portable trenchers. Stay informed about updates and advancements that can further enhance the efficiency of your irrigation projects.
In conclusion, GeoTrencher is not just a tool; it’s a partner in transforming the landscape of irrigation installation. By following these steps, you can harness the power of GeoTrencher to streamline the process, ensuring precision, efficiency, and success in your irrigation endeavors. Embrace the future of trenching technology with GeoTrencher, and watch your irrigation projects flourish.
Check out this demonstration video showcasing the rapid process of cutting a hole for installing a tee joint in a water pipe using The GeoTrencher.